

Wall Art on Paneled Walls: How to Work With Molding, Rails, and Visual Bays
The Panel Register
A paneled wall is not a blank rectangle with decoration added later. Molding, rails, battens and repeated bays already create a composition. The useful question is therefore not simply “Where should the canvas go?” but “Which existing line should the artwork acknowledge, and which line may it deliberately ignore?” This guide turns that conflict into an observable placement decision.
What this guide decides—and what it does not
This article owns one narrow decision: how the visible outer boundary of wall art should relate to decorative paneling. “Paneled wall” here includes picture-frame molding, applied box molding, full-height wall panels, board and batten, wainscoting with a chair rail, and related trim systems that divide a wall into visible fields. Those systems differ physically, but they create the same design problem: architecture is already drawing lines behind the art.
It does not provide a universal mounting method, load rating or safe drilling instruction. Trim projection, wall construction, concealed services, finished artwork weight and supplied hardware must be assessed for the actual installation. If the substrate or support route is uncertain, pause and use the artwork or hardware instructions, a qualified installer, or another wall.
Delegate specialist decisions. Use the wall art size guide for full dimension planning and the hanging-height guide after the architectural relationship is clear. This page does not copy their calculations. It supplies the missing step between measuring a wall and deciding which visible grid should organize the art.
A legitimate outcome may be a smaller canvas, a grouped composition, a different wall or no artwork. Paneling can already be the wall’s focal structure. Filling every bay is not a requirement.
The READ / REGISTER / RELIEVE / PROVE method
Use four stages in order. Each one produces a different output: a wall map, a registration rule, a controlled shortlist and a final verdict. Keep the current arrangement fixed while changing one declared variable. If two things change at once—size and alignment, for example—you will not know which change solved the problem.
- READMap persistent seams, rails, bays, furniture axes, interruptions and normal sightlines before introducing artwork.
- REGISTERChoose the single reference that will organize the artwork: a bay, a molding axis, a furniture axis or an intentional span.
- RELIEVEAdjust footprint or visual density so canvas edges and molding edges remain separately legible.
- PROVETest the unchanged shortlist from relevant viewpoints and ordinary light states; reject camera-only success.
READ the wall that already exists
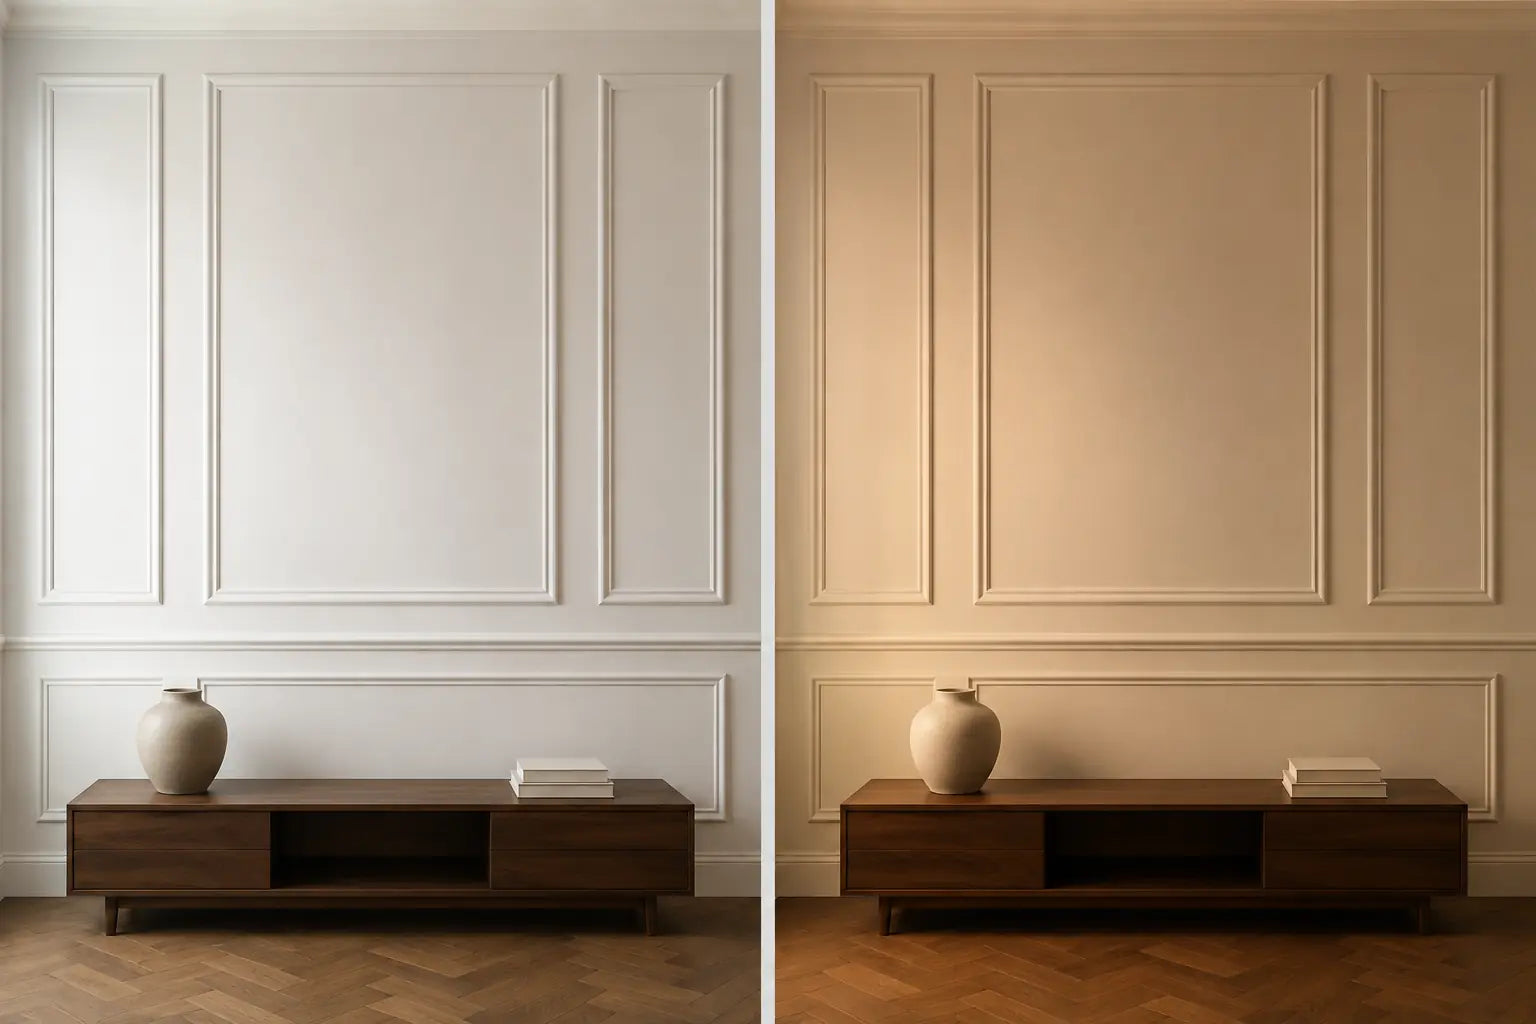
Stand back before measuring. Name the lines that remain visible in ordinary use: the inside edges of the main bay, the top of a chair rail, repeated vertical battens, the console center, a doorway edge and any sconce or switch that interrupts the rhythm. Photograph the wall from the main seat and entrance. Observe it in more than one normal light state because shallow molding can appear quiet in diffuse daylight and much stronger under evening side light.
The output is a simple hierarchy, not a drawing full of dimensions. Identify one dominant field, one secondary line and the elements that cannot move. If the furniture is temporary, do not let it overrule permanent architecture without a reason. If a large central bay is unmistakable, it is usually the first field worth testing. If the bays are narrow and repetitive, the repeated rhythm may matter more than any single box.
Reject the reading when it depends on one flattering straight-on photograph. Retest from the route people actually use. A wall that looks symmetrical from the camera may be experienced obliquely, where a doorway or tall cabinet becomes the stronger boundary.
REGISTER one deliberate relationship
Registration means choosing which line the art will answer. There are three practical modes. Contained registration places the entire outer footprint inside one bay. Axis registration aligns the artwork’s center or edge with a dominant molding or furniture axis. Spanning registration crosses more than one bay so clearly that the overlap reads as intentional rather than as a measuring error.
Choose one mode for the first test and write it down. Do not quietly slide between the molding center and the console center. When architecture and furniture disagree, test two versions with the same artwork, footprint, height and lighting. Move only the horizontal reference. The better version is the one whose logic remains readable without an explanation—not necessarily the one that is mathematically centered.
RELIEVE edge pressure and visual density
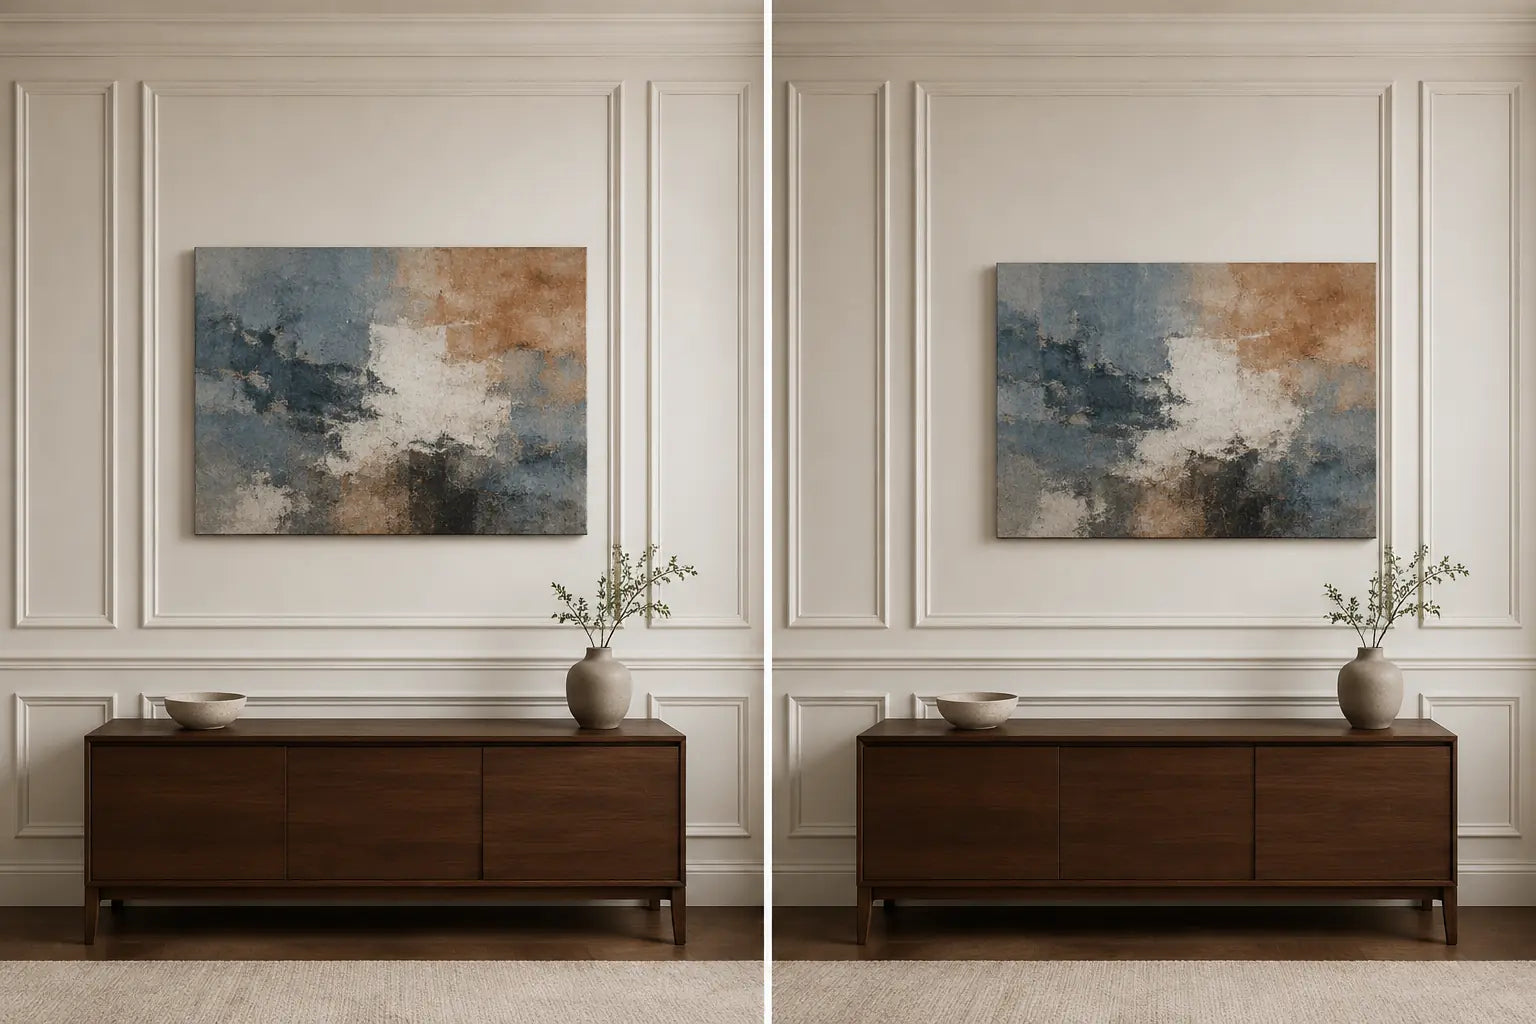
Once the anchor is fixed, examine the perimeter. The critical evidence is not a universal gap; it is whether the canvas and trim still read as two distinct layers. A near-tangent occurs when an artwork edge approaches a molding line so closely that the remaining strip of wall looks accidental. The eye alternates between seeing a gap and seeing contact, which can make both objects feel cramped.
Change footprint first while keeping center point, image, aspect ratio, wall and furniture constant. Compare a version with a clearly visible perimeter against a larger version that approaches the molding. If both fail, do not keep making microscopic adjustments. Try a different orientation, a neighboring bay or a deliberate span. Use the specialist guide to compare vertical, horizontal and square formats once you know which field the art must serve.
Visual density is a separate retest. Ornate molding plus a highly segmented image may create more edge activity than the room needs. Hold the footprint fixed and compare a calmer composition. This is similar to coordinating art with another active background, but panel lines are three-dimensional and cast changing shadows. For the broader background-hierarchy method, consult the patterned-wallpaper guide rather than importing its decisions here.
PROVE the choice beyond the editorial camera
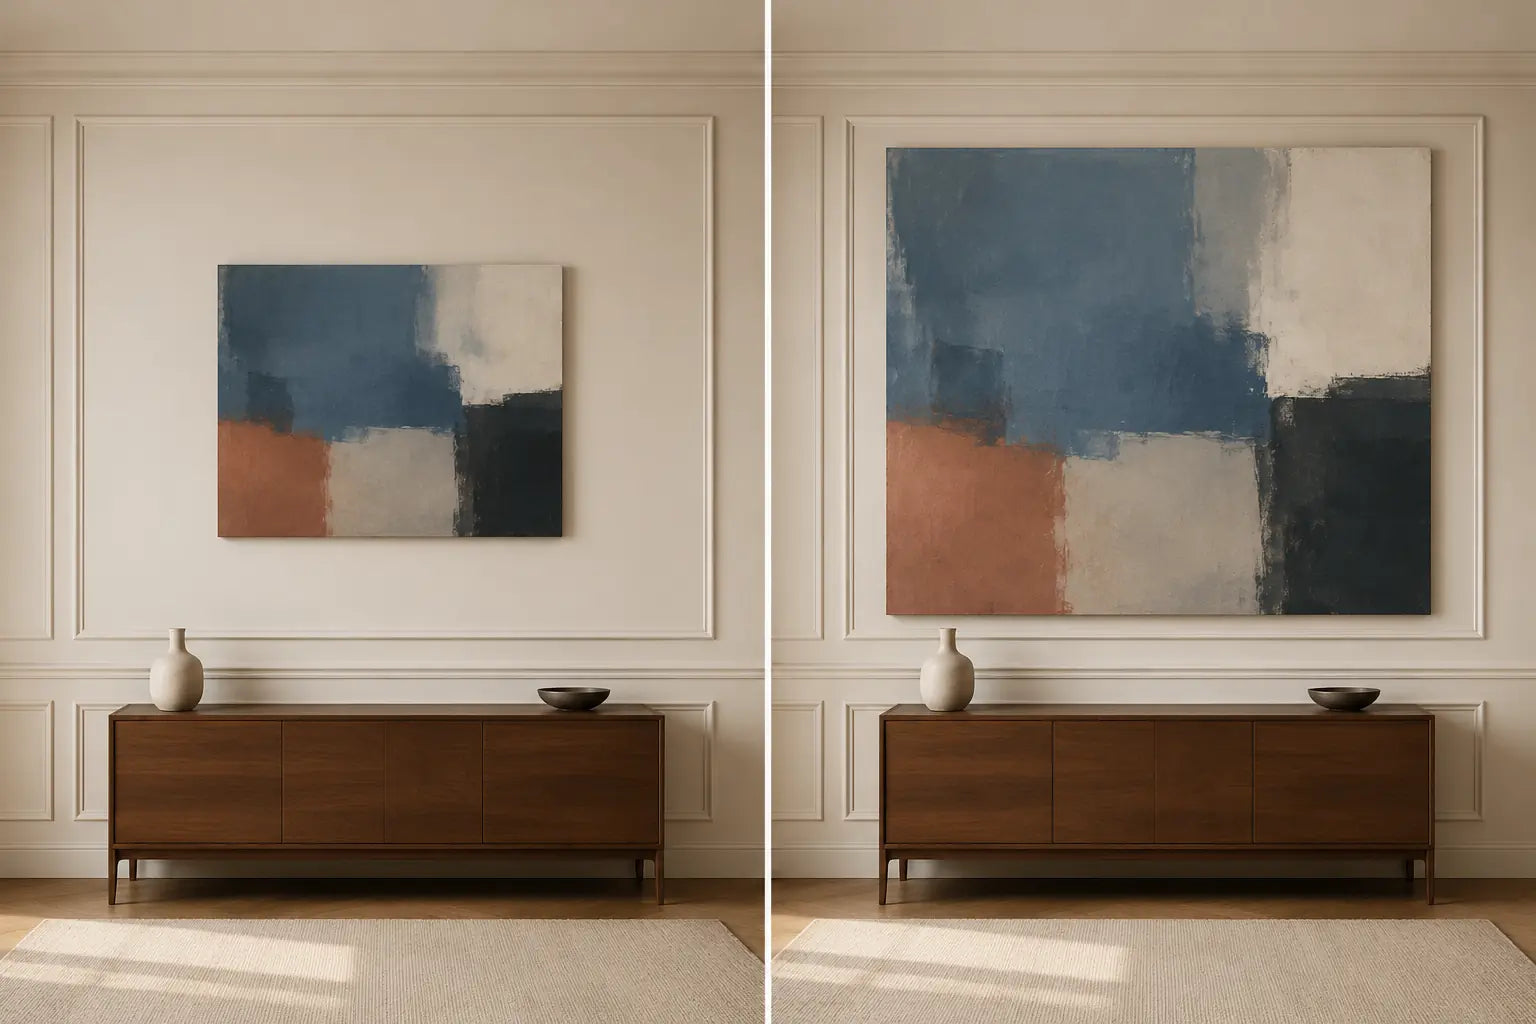
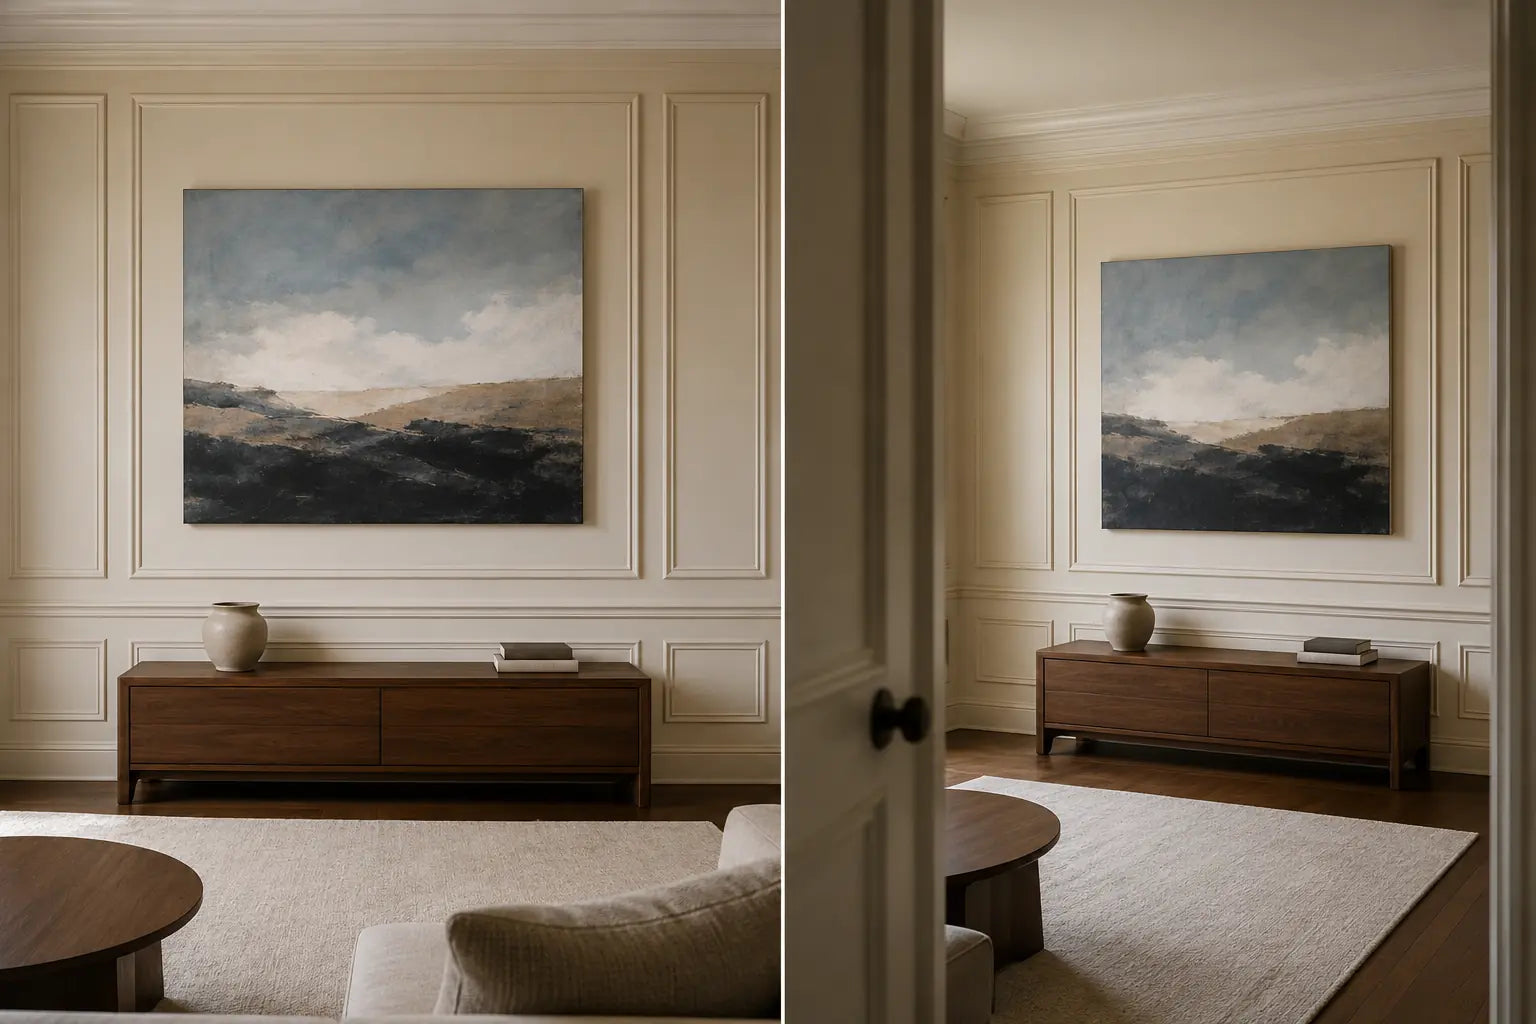
A centered photograph can make almost any arrangement look resolved. Keep the final mock-up unchanged and view it from the primary seated position, the entrance approach and any adjoining room that routinely sees the wall. Then repeat under ordinary daylight and evening room light. Change viewpoint or light state separately so the reason for failure stays clear.
A pass does not mean every view is identical. It means the declared relationship remains legible: the canvas still belongs to the bay, the intentional span still reads as a span, or the furniture alignment still explains the offset. Reject an arrangement that appears correct only from one spot, makes a canvas edge merge with trim from the doorway, or lets a sconce obscure the artwork’s focal area.
Retest one variable. A modest horizontal shift may solve a doorway view; a smaller footprint may restore the bay perimeter. If every correction damages another view, move the art. Architecture is evidence, not an obstacle that must be defeated.
Route the first test from visible evidence
Start with the condition you can actually see. The table does not prescribe a final layout; it identifies the first variable worth changing while everything else remains fixed.
On a narrow screen, scroll the table horizontally to compare all columns.
| Observed condition | Hold constant | First variable to test | Visible pass signal | Reject and retest |
|---|---|---|---|---|
| One broad dominant bay | Artwork image, wall and furniture | Footprint inside the bay | Canvas and bay remain separately readable | Near-tangent perimeter; reduce footprint or change format |
| Two competing centerlines | Canvas size, height and light | Molding axis versus furniture axis | One relationship explains the placement from normal views | Unclear drift; declare one axis and move only horizontally |
| Many narrow repeated bays | Architecture and artwork | Contained piece versus deliberate span | Overlap reads as a complete composition | Edges nearly meet several battens; choose a clearer span or one bay |
| Chair rail divides the wall | Furniture and upper field | Artwork footprint above the rail | Upper field, artwork and furniture read as one hierarchy | Canvas appears squeezed between rail and ceiling; use another format or wall |
| Ornate or high-contrast trim | Footprint and anchor | Composition density | Artwork subject remains legible without erasing the molding | Edge activity competes; simplify the image or leave the bay open |
| Door, sconce or cabinet interrupts | Shortlisted arrangement | Viewpoint, then position | Registration survives the approach view | Object masks focal content; shift, resize or change wall |
Six paneled walls, six different decisions
These scenarios are deliberately different. Each starts with evidence, states a decision, names a rejection condition and changes one variable for the retest.
1. One canvas inside a broad molding bay
- Evidence
- A broad central bay remains dominant from the sofa and doorway; the console sits nearly on the same axis; the canvas can fit without touching raised trim.
- Decision
- Use contained registration. Center the full outer canvas footprint in the bay first, then evaluate its relationship to the console.
- Reject
- The canvas is enlarged until the remaining wall strip becomes a hesitant sliver, or it is nudged toward the console without a readable reason.
- Retest
- Hold the center, image and aspect ratio constant. Reduce only the footprint until the canvas and molding have distinct perimeters.
2. A wide work across several narrow bays
- Evidence
- Vertical bays are too narrow for the intended horizontal subject, but together they form a strong wall field above a long sideboard.
- Decision
- Test a deliberate span whose outer edges clear the repeated battens decisively. Treat the art as one foreground layer crossing a background rhythm.
- Reject
- Each canvas edge lands just beside a batten, making the span appear mismeasured, or separate panels imitate the wall bays without supporting the artwork.
- Retest
- Keep the installed width and wall fixed; compare one canvas with a panel composition using the single-versus-three-panel guide.
3. Art above wainscoting and a chair rail
- Evidence
- The chair rail creates a firm lower boundary, furniture occupies part of the upper field, and the available rectangle changes when lamps or tall objects are included.
- Decision
- Map the true upper field and register the art to the furniture only if that relationship remains stronger than the wall’s panel rhythm.
- Reject
- The canvas is centered between rail and ceiling without regard to the normal seated view, or it is forced into a shallow strip because the wall is technically empty.
- Retest
- Hold height and furniture constant; compare a narrower footprint, then test the adjacent bay. If both feel compressed, leave the upper field open.
4. Board and batten with raised projections
- Evidence
- Raised battens interrupt the wall plane, their spacing is visible behind the proposed footprint, and the mounting route is not yet verified.
- Decision
- Solve the visual registration with paper first. Treat physical support, projection and wall construction as a separate installation assessment.
- Reject
- A mock-up is called successful because the front view looks level while the real canvas would bridge trim, tilt, or depend on improvised spacers.
- Retest
- Keep the footprint; move it into one clear bay. If a span is essential, pause until the finished weight, substrate and suitable hardware are verified.
5. An asymmetric wall with a doorway or sconce
- Evidence
- The bay appears centered in a straight photograph, but the doorway approach adds a strong vertical edge and a sconce competes with one side of the art.
- Decision
- Prioritize the normal approach view. An intentional offset can be more stable than mathematical centering when the interruption is permanent and visible.
- Reject
- The composition works only when the door is cropped out, or the sconce overlaps the artwork’s main visual subject from the route people use.
- Retest
- Hold size, image and height constant. Shift horizontally in one clear step, then recheck the seated view before accepting the offset.
6. A gallery grouping on paneled walls
- Evidence
- Several smaller works are already owned; one bay cannot contain them comfortably; their combined outer boundary crosses multiple panel lines.
- Decision
- Plan the grouping as one footprint, then choose whether that footprint belongs inside one field or spans the panel rhythm deliberately.
- Reject
- Every frame is centered independently in a different bay, producing unrelated islands, or gaps change merely to avoid random molding collisions.
- Retest
- Fix the outer boundary and rebuild the internal arrangement with the gallery-wall layout guide; then retest only the group’s wall position.
Build a pre-purchase brief
Do not begin with a product thumbnail. Record the wall evidence first, then shortlist formats that can pass it. A concise brief prevents a beautiful image from disguising a poor architectural fit.
- Wall type
- Picture-frame molding, full paneling, board and batten, wainscoting, chair rail, or a combination.
- Dominant field
- The bay, axis or repeated rhythm that remains strongest from normal views.
- Usable boundary
- The visible field after excluding raised trim, sconces, switches, doors, curtains, vents and fixed furniture.
- Registration rule
- Contained, axis-aligned or deliberately spanning. Write one rule, not three.
- Outer footprint
- Finished width, height, orientation and any complete multi-panel gaps; confirm against the actual option before purchase.
- Controlled test
- A full-size paper outline photographed from the main seat and approach, with one variable changed per comparison.
- Installation gate
- Finished weight, wall construction, trim projection, supplied hardware, permission and concealed-service uncertainty.
- Fallback
- A smaller footprint, calmer composition, adjacent bay, another wall or no purchase.
Keep the final brief short enough to use while comparing real options. Do not assume a frame, format, hardware type or size is available until the specific page confirms it. If a shortlist survives the paper test, compare canvas prints with the measured footprint and fallback wall beside you.
Frequently asked questions
Should wall art be centered inside picture-frame molding?
Centering inside a dominant bay is a strong first test, not a universal rule. If furniture, a doorway or the normal viewpoint creates a more persuasive axis, compare that axis while holding the artwork size, height and image constant. An offset should look deliberate from ordinary views.
Can a canvas cross over molding or panel lines?
Visually, a deliberate span can work when repeated bays are too narrow for the intended composition. The overlap must read clearly rather than producing several near-tangent edges. Physically, do not assume a canvas can bridge raised trim; verify wall construction, projection, finished weight and appropriate support separately.
How much space should be left between art and molding?
There is no portable distance that fits every trim profile, bay and artwork. Use full-size templates to compare edge relationships. A pass has a visibly intentional separation or overlap; reject a narrow strip that appears accidental, then change only footprint or position.
Should artwork align with the panel or the furniture below?
Test both when the axes disagree. Keep artwork, size, height and light fixed, then move only the horizontal reference. Choose the version whose logic remains clear from the main seat and approach. Permanent architecture normally deserves more weight than furniture that may move.
Can I hang a gallery wall over wainscoting?
Yes, if the complete grouping has a controlled outer boundary and a declared relationship to the upper field. Do not center every frame independently in separate bays. Plan the group on paper, position it as one unit, and treat the chair rail as a visible architectural boundary.
What kind of art works with ornate paneling?
Begin by controlling visual density rather than naming a mandatory style. Hold the footprint and anchor fixed, then compare a composition with fewer competing edges or a quieter value structure. The test passes when both the artwork’s subject and the molding remain legible.
How do I hang art on board and batten?
This guide resolves placement, not a universal installation method. First test whether the footprint belongs inside one bay or intentionally spans several battens. Then verify finished weight, substrate, trim projection and compatible hardware for the actual wall. If those facts are unknown, consult qualified help or choose another location.
Is it better to leave a paneled wall empty?
Sometimes. Paneling may already provide enough rhythm, relief and shadow. If every tested canvas looks trapped, obscures the architecture, succeeds from only one angle or requires an uncertain mounting compromise, an open bay or different wall is the stronger result.