

Wall Art for Low and Sloped Ceilings: How to Use the Usable Wall Envelope
LOW & SLOPED CEILINGS / PLACEMENT GUIDE
Quick answer: treat the wall below a low or sloped ceiling as a smaller rectangular display field. Find the ceiling break, draw the largest calm rectangle that fits below it, anchor the art to furniture or a functional zone, and preserve visible clearance from the slope. Do not fill the triangular leftover space simply because it is empty.
Why the wall outline is not the hanging area
A room with a sloped ceiling may offer a large number of square metres on paper, but not all of that surface works as a display field. The diagonal edge changes height continuously. A canvas that technically fits can still look pinched where its top corner approaches the slope. The useful measurement is therefore not total wall width or maximum height. It is the largest stable rectangle that can hold the entire outer edge of the artwork with breathing room.
This distinction prevents a common mistake: choosing a work for the dramatic triangular silhouette of the wall and then discovering that the installed rectangle fights that silhouette. Rectangular canvas does not need to imitate the roof angle. It usually looks calmer when it establishes a clear horizontal and vertical order beneath it.
1. BREAK: locate the controlling line
Start with the lowest relevant boundary above the furniture: the point where the vertical wall becomes a slope, a beam descends, or the ceiling drops. That line controls the artwork even if the wall becomes taller elsewhere. Measure from the top of the headboard, desk, console, or sofa to this break. Then note windows, switches, sconces, doors, and heat sources that reduce the field.
Do not average the height across a diagonal wall. The lowest corner near the proposed art matters most because it creates the visual pinch. If the ceiling rises sharply from left to right, a smaller rectangle placed entirely beneath the low section may look more deliberate than a larger work shifted toward the tall side.
2. ENVELOPE: make the usable rectangle visible
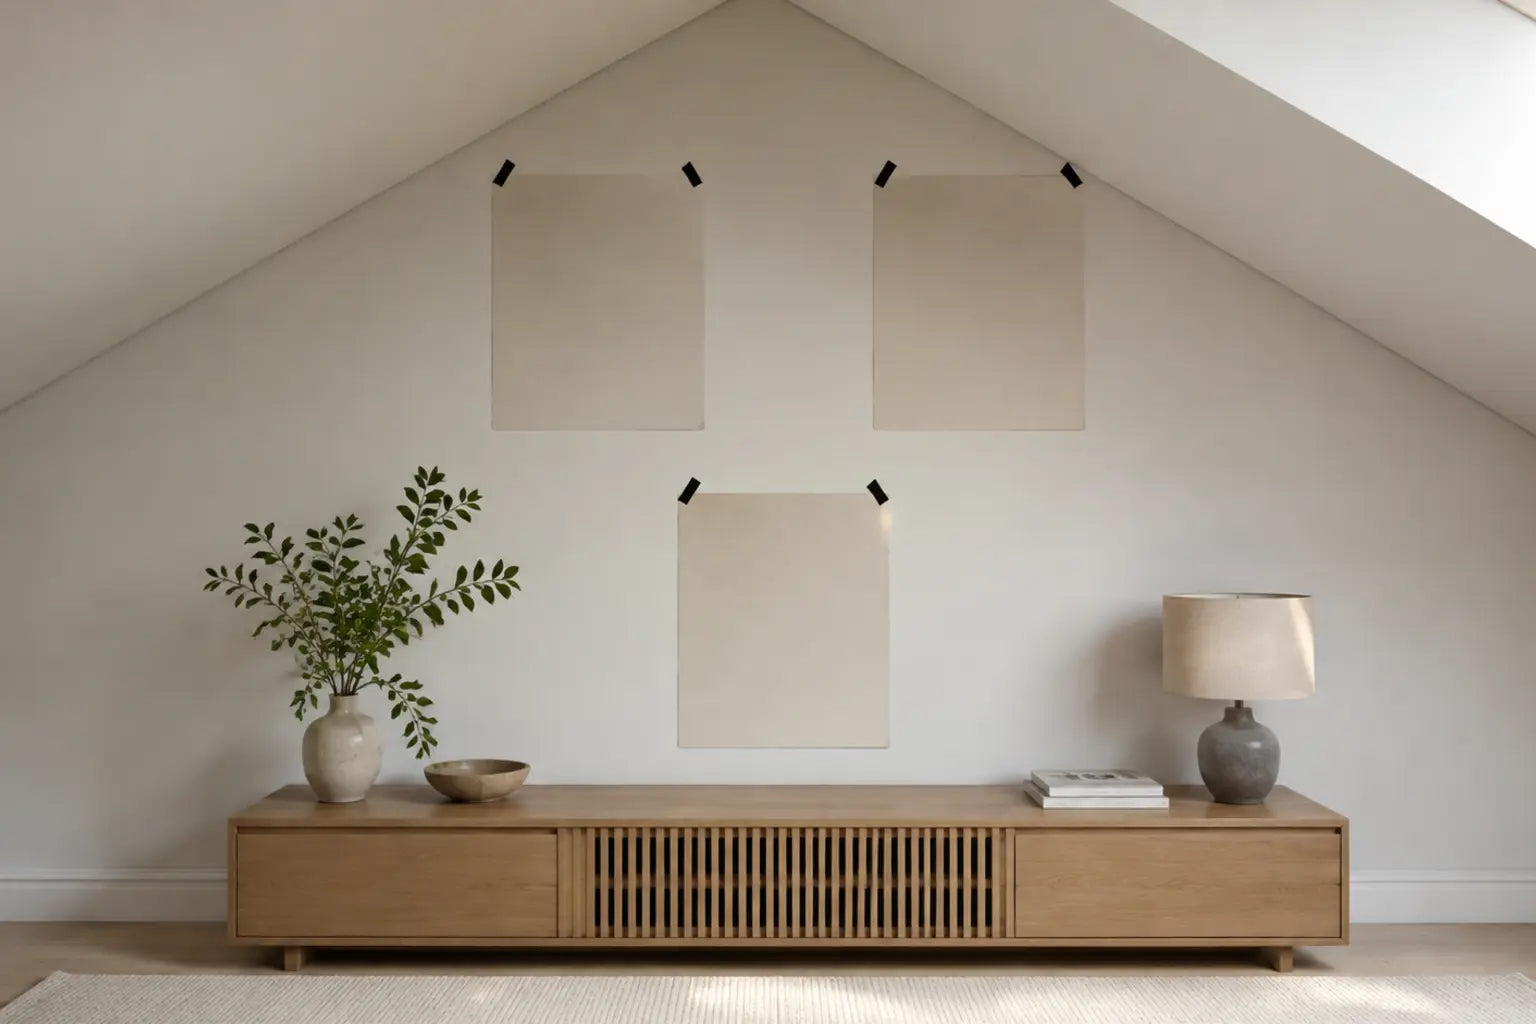
Use painter’s tape or blank paper to mark the outer size before ordering. Keep every edge level. Photograph the template from the doorway and from the primary seated or standing position. The goal is not to make the paper fill the wall; it is to test whether the rectangle reads as a complete object rather than a leftover shape inserted beneath the roof.
Leave enough space above the template that the ceiling line and the artwork do not merge. There is no universal clearance because a thick dark frame, a strong shadow gap, textured plaster, and a shallow slope all change perception. Begin with a visibly separate band of wall, then adjust in small steps. Compare the result with the general Wall Art Size Guide, but let the architectural break override generic room formulas.
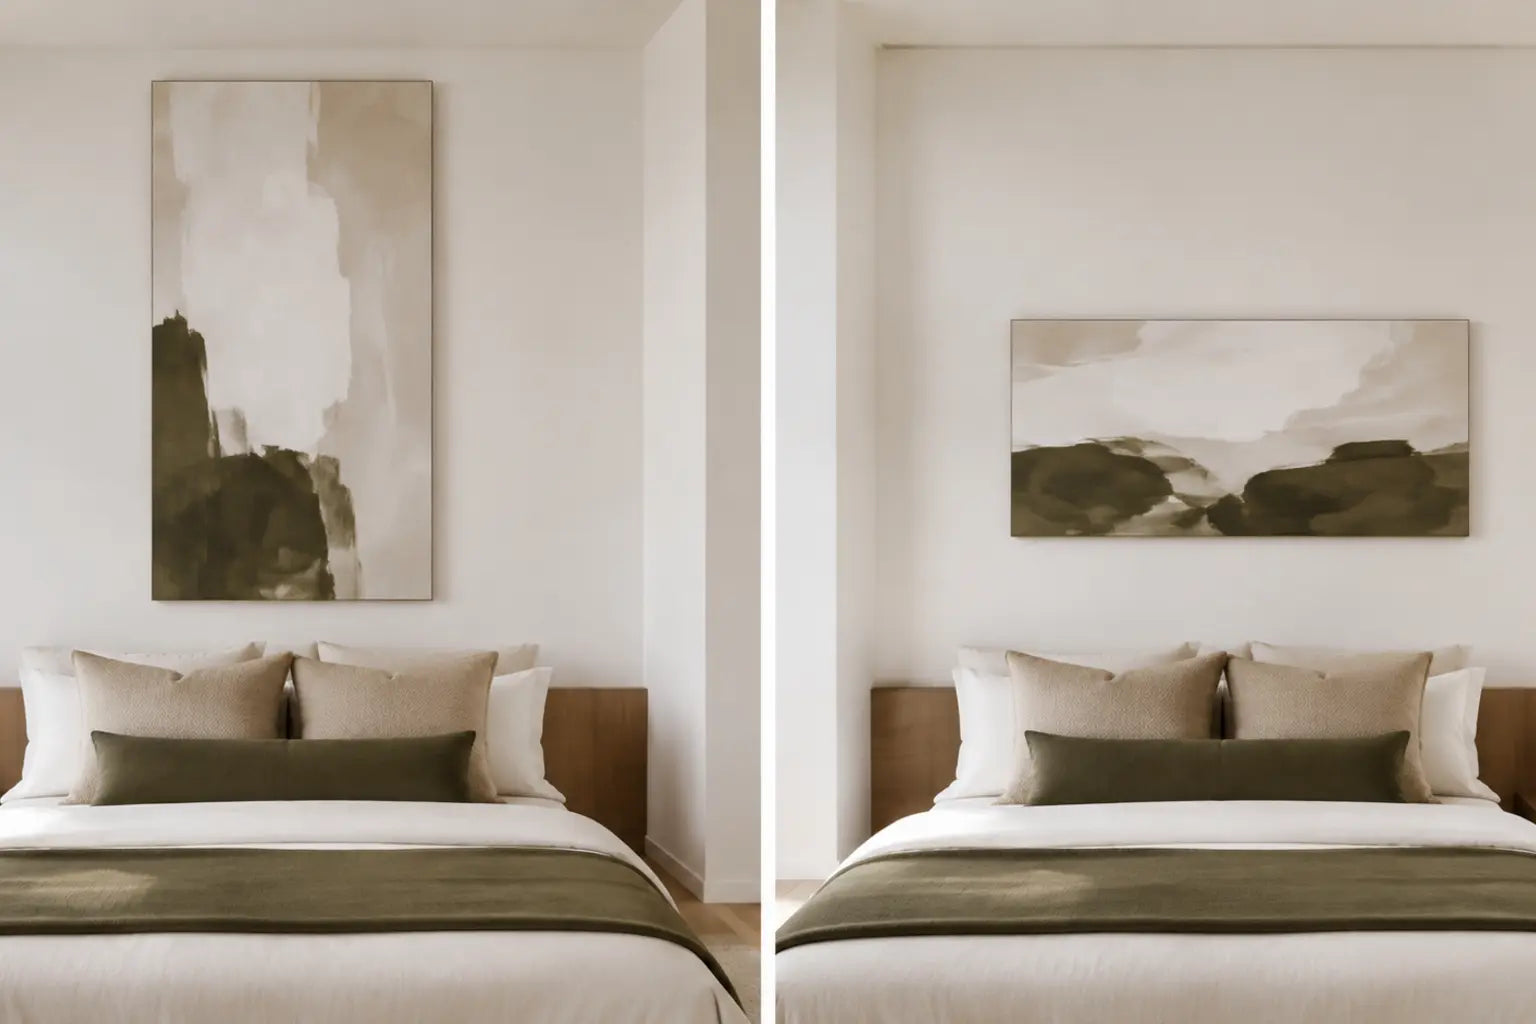
Choose orientation from the envelope, not the aspiration
Low walls often favour horizontal work because width remains available after height has been reduced. That is a tendency, not a rule. A narrow dormer wall may support a vertical canvas if its top edge remains clearly below the break. A square can work when the furniture anchor is compact and the surrounding wall is calm.
Compare equal-area formats inside the taped envelope rather than assuming that vertical art will “raise” the ceiling. A tall rectangle can emphasise height when it has space above and below; when squeezed under a low boundary it may do the opposite. The vertical, horizontal and square wall art guide helps separate outer format from the internal direction of the composition.
3. ANCHOR: make the lower wall intentional
Furniture gives the artwork a stable reason to sit lower. Above a headboard, sideboard, desk, bench, or low sofa, judge the canvas as part of one combined composition. The gap between furniture and art should be readable, but the two elements should not drift apart. When there is no furniture, use an architectural bay, reading chair, stair landing, or work zone as the anchor.
A low ceiling does not mean the canvas must hug the floor. It means the centre point may be governed by the available band and the viewing position rather than a generic gallery height. In a seated attic room, comfortable viewing can naturally be lower. Test where people actually look.
4. CLEARANCE: protect the outer silhouette
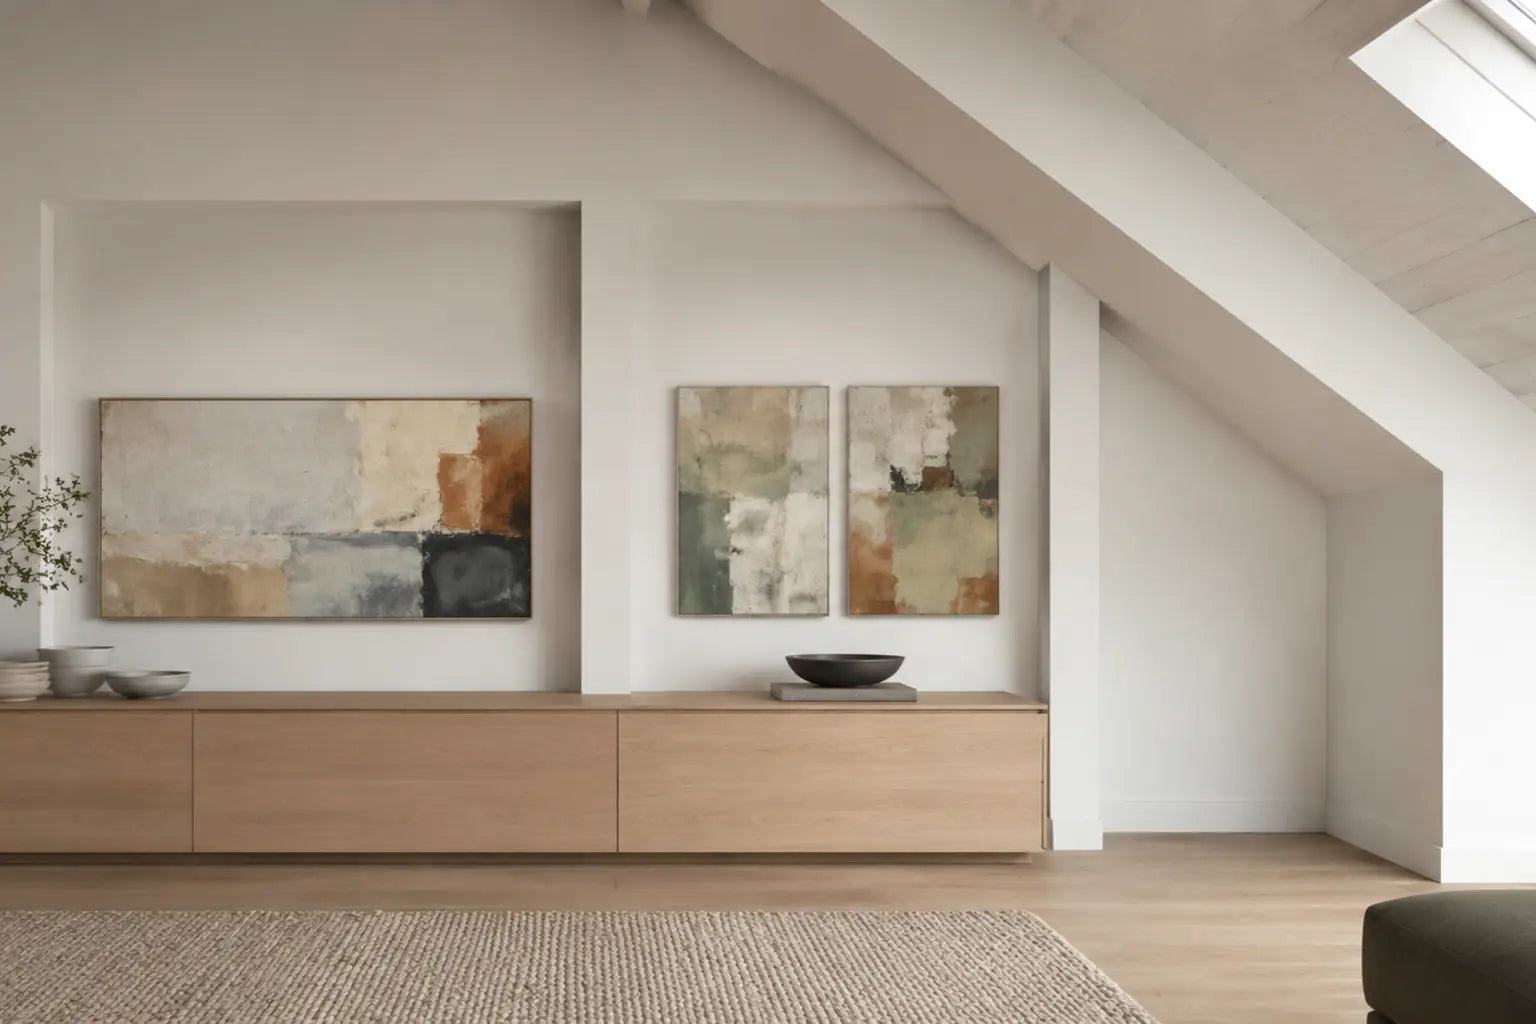
Viewers notice the gap around the artwork before they inspect its subject. Under a slope, clearance is uneven by definition, so the aim is not identical spacing. The aim is a top edge that remains visually independent from the ceiling and side edges that do not collide with a dormer, beam, curtain or corner.
Dark frames and high-contrast canvases require more perceived air because their outlines read strongly. Pale, low-contrast work may tolerate a tighter field, but it still needs separation. If the ceiling and wall share one colour, use shadow and edge contrast as evidence; if the slope is painted differently, treat that colour change as a firm boundary.
| What you see | Likely cause | First change | Retest |
|---|---|---|---|
| One top corner feels pinched | Envelope follows the slope | Lower or reduce the format | Doorway view |
| Art seems too low | No furniture relationship | Tighten the art-to-anchor gap | Seated view |
| Wall still feels busy | Awkward wedge was filled | Remove the smallest object | Wide room photo |
| Vertical canvas compresses the room | Insufficient top clearance | Test equal-area horizontal or square | Same taped position |
| Evening view has a hotspot | Light strikes the surface directly | Change lamp angle or placement | Normal evening light |
When the awkward part should stay empty
The narrow triangle at the bottom of a descending eave rarely needs a small picture. Filling it can create a staircase of objects that repeats the ceiling angle and makes the room feel more restless. Preserve it as negative space unless a functional object—such as a low lamp or built-in—already belongs there.
A compact pair or trio can work on the taller part of the wall, but keep the group inside one rectangular outer envelope. Do not let the frames climb diagonally simply to mirror the roof. If you want a grouped arrangement, use the gallery wall guide for internal spacing, then apply the stricter ceiling-clearance test described here.
Light and glare are part of the fit
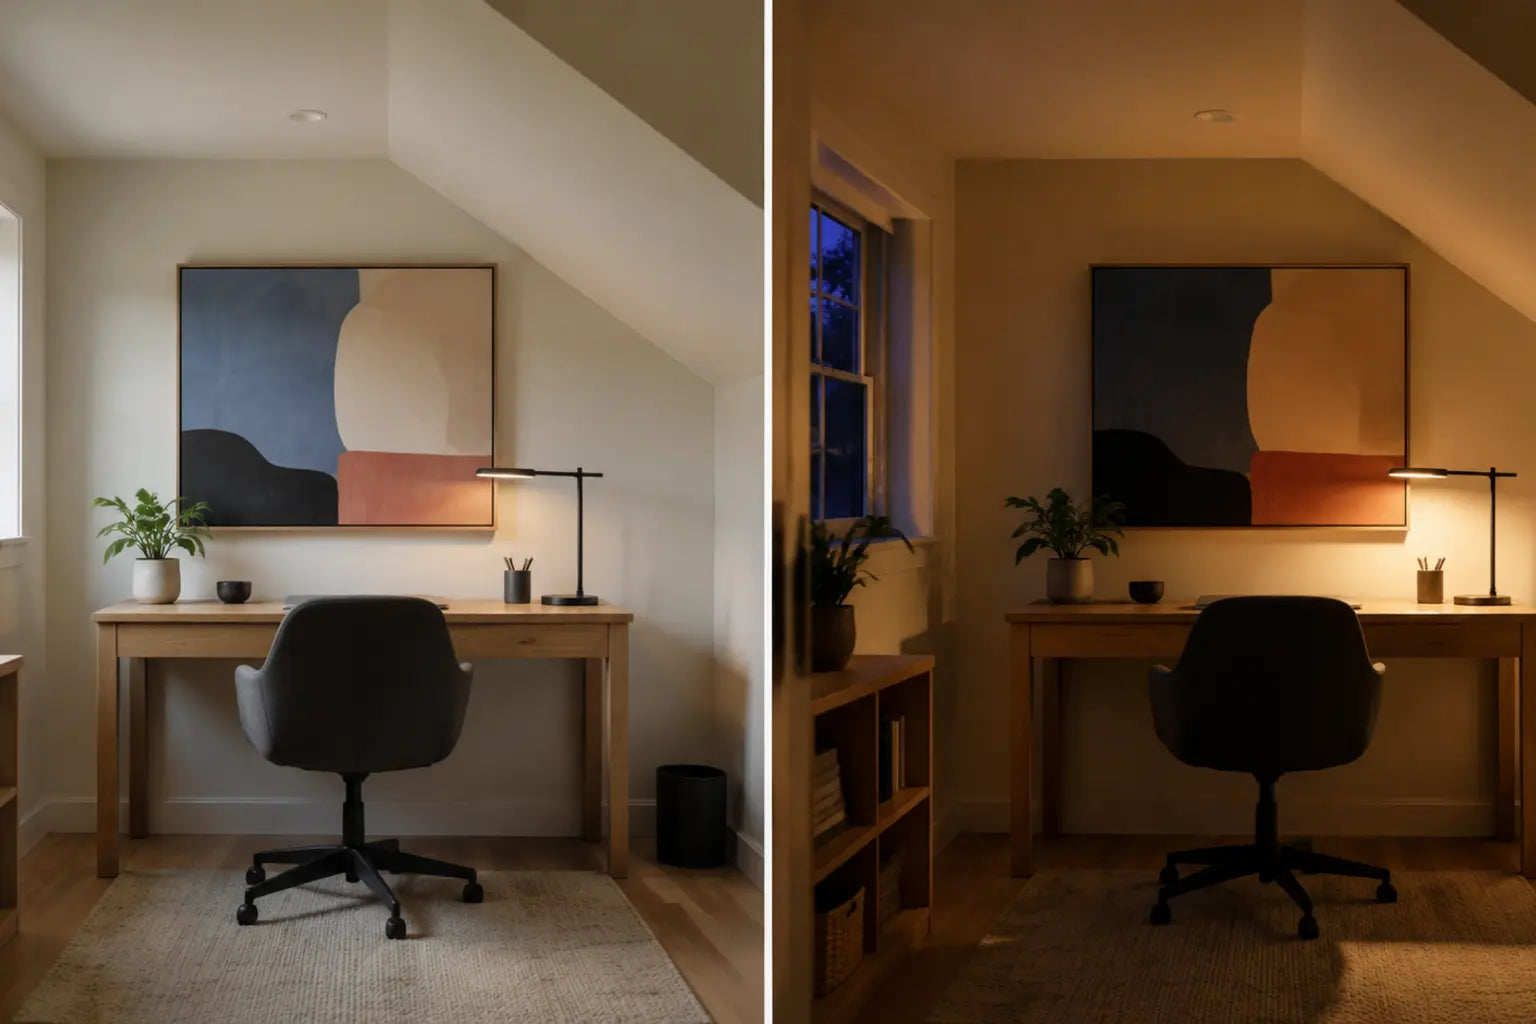
Attic rooms often have roof windows and low lamps that change the wall dramatically. Check the template in daylight and again under the lighting normally used at night. A position that looks spacious in diffuse daylight may develop a hard shadow or glare patch after sunset. Canvas generally avoids glass reflections, but directional light can still flatten dark detail or create a bright hotspot.
A practical five-minute checklist
- Mark the lowest relevant ceiling break.
- Measure the clear wall band above the furniture or functional zone.
- Tape one horizontal, one square and—only if height permits—one vertical option.
- Photograph each from the doorway and normal viewing position.
- Remove the template from the awkward wedge and compare the calmer wall.
- Repeat the winning option in evening light.
- Order only after the outer rectangle, furniture gap and top clearance all look intentional.
Four room types and what changes
Attic bedroom with a low headboard
The headboard creates a strong lower anchor, but the bed also fixes the viewing position. Build the envelope from the headboard upward and check the art while standing at the doorway and while sitting on the bed. If the available band is shallow, one horizontal work usually reads more calmly than a tall pair. Bedside lamps and roof windows should remain outside the canvas silhouette, not appear to cut through it from the main view.
Dormer office
A desk brings the viewer close to the wall, so a modest canvas can have enough presence. Do not scale only for the doorway photo. Check the seated distance, video-call background and task lighting. If the desk is offset beneath an asymmetric dormer, align the artwork with the working zone rather than forcing it to the centre of the entire wall.
Low-eave living area
A long sofa or sideboard can support a broad artwork, but the lowest part of the eave may still make one side feel compressed. Shorten the outer format before shifting it far away from the furniture centre. If that creates a useful empty wedge, preserve it. A low lamp or plant can occupy floor space without turning the wall into a diagonal display.
Landing or stair-adjacent slope
Here the eye moves and the effective viewing height changes. Test from the approach, the turning point and the destination. A clear single rectangle often survives movement better than several small frames. Keep art level; the stairs and roof already provide enough diagonal motion.
Mistakes that look reasonable in a close-up
Centred on the wall, disconnected from the furniture
The geometric centre of an irregular wall may sit far from the functional centre of the room. A canvas can look correct in a cropped photo yet drift away from the bed or desk in person. Include the anchor in every test photograph.
Choosing by maximum height
Maximum wall height often occurs at only one side. Using that number allows a format that fails at the lower corner. Record minimum clear height across the entire proposed width instead.
Matching the frame staircase to the roof
Ascending small frames may seem tailored to the architecture, but they add another diagonal and multiple outer edges. Use this only as a deliberate gallery-wall concept, not as the automatic answer to a slope. Compare it with one level rectangular group before committing.
Solving compression with pale colour alone
A pale canvas may reduce contrast, but it cannot repair an outer edge that nearly touches the ceiling. Fix envelope and clearance first. Then use colour, subject and contrast to tune the mood.
How to shortlist the artwork after placement is solved
Once one or two outer sizes pass the paper test, compare artworks at those exact proportions. Look for a composition that remains legible from the normal distance and whose strongest internal line does not appear to crash into the slope. A horizontal canvas can contain vertical movement; a square can contain a wide horizon. Separate the shape of the object from the direction inside the image.
Use a screenshot or paper print placed inside the template to test colour. Include the ceiling surface, furniture, floor and window in the photograph. A work does not need to match the ceiling colour, but its darkest edge should not create an accidental second roof line. If the room already has beams and many hard diagonals, larger connected shapes may be calmer than a composition with frequent small marks.
Finally, compare the shortlist at equal installed size. Product thumbnails make intricate work look stronger and large simple work look emptier than they may feel on the wall. The architecture—not the browser grid—should decide.
Frequently asked questions
Should artwork follow the angle of a sloped ceiling?
Usually no. Keep rectangular art level and let the ceiling remain the diagonal architectural line. Mirroring the slope can make the installation feel unstable.
Is horizontal wall art always best for a low ceiling?
No, but it often uses available width with less risk of top-edge compression. Test equal-area formats inside the real envelope.
Can I hang art directly on a sloped surface?
This guide focuses on vertical wall sections below slopes. Mounting objects on an inclined surface needs hardware rated for that orientation and substrate; follow the manufacturer’s instructions or use a qualified installer.
How much space should be left below the ceiling?
Use a visibly separate band rather than one universal number. Frame thickness, contrast, slope angle, furniture height and viewing distance all affect the required clearance.
Can a gallery wall work under an eave?
Yes, if the complete group forms one calm rectangular envelope and does not climb into the narrowing wedge.
Should I hang the art lower than normal?
Sometimes. In a seated attic room, the usable wall band and actual eye line may support a lower centre. Anchor the work to furniture and test from the real viewing position.
What if the wall is tall on one side and very low on the other?
Use the taller bay as a complete display field or select a smaller format that clears the low side. Do not average the two heights.
What is the safest way to choose size before drilling?
Make full-size paper templates, photograph them from routine views and leave them up through both daylight and evening use.
Choose art after the envelope is clear
Once the usable rectangle, anchor and clearance are settled, compare canvas formats without forcing the architecture.
Explore Canvas Prints